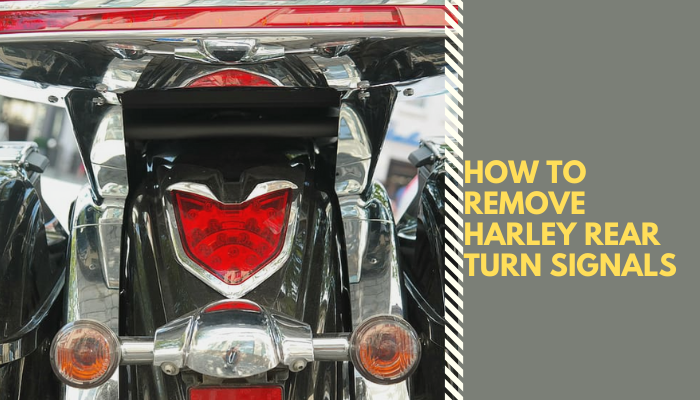
How to Remove Harley Rear Turn Signals

Usually, Harley Davidson motorcycle’s turn signals are situated on the frame rails of the rear fender. Some users of Harley do not mess with those and leave them and are not generally interested in relocating them.
However, many of us who love to decorate our Harleys and make them more aesthetically pleasing tend to make changes to the bike.
Generally, Harley rear turn signal relocation is done to install saddlebags. If you have a little bit of idea about the parts of Harley and are handy with general tools, doing this relocation can be easy and under an hour.
Here are the instructions on how to remove Harley rear turn signals for relocating:
Harley Davidson Rear Turn Signal Relocation Kit Instructions
You do not need any special pricey tool for doing this removal and relocation. The necessary instruments for this are:
- Phillips screwdriver
- Socket wrench
Relocation Process
Step 1
Use your Phillips screwdriver to unscrew the bolts of the seat to remove your bike’s seat. The bolts are usually found on the rear fender. When you lift up the seat, you will see the battery.
On Harley models like the Dyna or Sportster, you will need to take off the cover that is on the battery box. Use the screwdriver for unscrewing the negative terminal of the battery. After that, you can easily take off the wire from it.
Step 2
Now, use your screwdriver again to unscrew the bolts that are on the lens of the tail lamp. After done unscrewing, you can get your hands in the rear turn signal’s wiring by pulling the bulb and lens off.
If you are having trouble finding the wiring, it is usually on the upper side of one of the corners inside the bulb housing.
Step 3
You can easily pull out the wiring of the turn signals from the housing with your hand. During this process, you will need to use the socket wrench for unscrewing the mounting studs of the turn signals.
Those are usually on the bottom side of the fender. After unscrewing, you can pull the wiring out and the turn signals out from the housing.
Step 4
Use your socket wrench again for the bolts on the bracket of the license plate.
Step 5
You have to put the wiring of the turn signal into the mounting holes of your new license plate. With the socket wrench, tighten the nuts of the turn signal and make sure it is fitted well with the bracket.
Step 6
Storing the wiring of the turn signal is possible inside the hole of the stock license plate of the rear fender by pushing it in. Make sure the turn signals are leveled by rotating them.
Use your wrench for tightening the mounting screws once they are leveled. Again, with your wrench, bolt the plate back in place.
Step 7
Connect the wiring with their appropriate prongs and screw in the lens and tail lamp bulb in place. After you are done, you have to reattach the cable of the battery that was removed during the beginning stages.
You are done! Put on the lid of the battery if there is any and then put the sit back in by screwing.
Cautions
- Make sure the bike is off and is cool before you start working on it.
- If you are not familiar with the wiring, we encourage you to watch a video or get help from a professional.
- Make sure not to use excessive force while taking out the wiring or screwing it in.
- You may need to use a resister if doing this process throws a CEL.
Final Note
Many people find satisfaction by working on their Harley on their own. It not only saves money by not going to a dealership but also gives you more understanding of how your motorcycle works. Getting yourself familiarize with every repair or change on Harley does not take too much of an effort.
Can you cause too big of damage while trying to remove the rear turn signals? Not really. These are parts that can be easily repaired or changed. So, try it out and see how the new changes look!
